To Change an Icon
-
Open the
Icon Associations dialog ().
When the dialog opens, it lists all applications currently defined in the datasource.
-
Do one of the following:
To change a datasource icon, expand the Default Datasource Icons folder and double-click the item to change.
or
To change default icons (such as check out, document set, write access) expand the Default Icons folder and double-click the item to change (or right-click a selected item and select Set Image).
or
To change an application's program icon, below the Default Datasource Icons and Default Icons folders, double-click the item whose icon you want to change, for example, MicroStation.
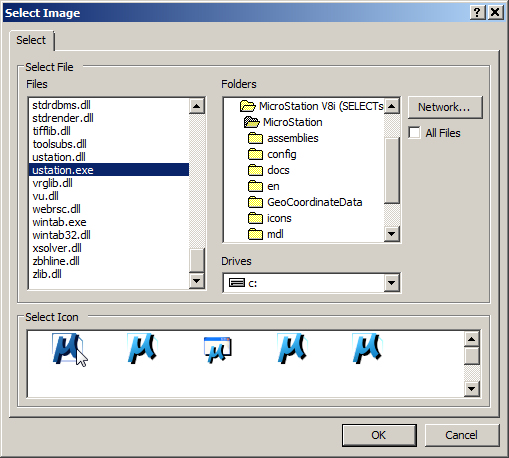
The Select Image dialog opens.
This dialog is preset to display files having the extensions, .DLL, .EXE, or .ICO. These are the typical files which contain application icons. However, turning on the All Files option (below the Network button) displays files of all types.
-
Navigate to the directory containing icon files.
When the icon you are changing is the application icon associated to documents of a certain file type, those icons are typically found in that application's program executable file. For example, the "B" Bentley logo icon is contained in MicroStation's ustation.exe file, whose default location is C:\Program Files\Bentley\Program\MicroStation.
-
In the
Files section, select the appropriate file.
The icons contained in the file display in the Select Icon section of the dialog.
-
Select the icon to use and click
OK.
In the Icon Associations dialog, the selected icon changes to the newly selected icon.
-
Click
OK.
In ProjectWise Explorer, icons change based on your selection.